C++ 环境搭建 - MFC
1 准备工作
1.1 Vistual Studo 2022
VC++版本的lib不兼容,建议使用VS2022
1.2 SDK下载
请联系客户顾问获取。
1.3 示例代码下载
请联系客户顾问获取。
2 项目配置
若是新项目,则直接创建一个MFC的可执行程序sampleMFC。已有项目直接进行项目配置。
把SDK的bin目录下的DLL复制到项目的bin目录下,目录结构如下:
- bin
- Windows
- build
- include
- Core
- MFC
- lib
- Windows
- sampleMFC
- sampleMFC.vcxproj
注意:
- 配置:所有配置
- 平台:所有平台
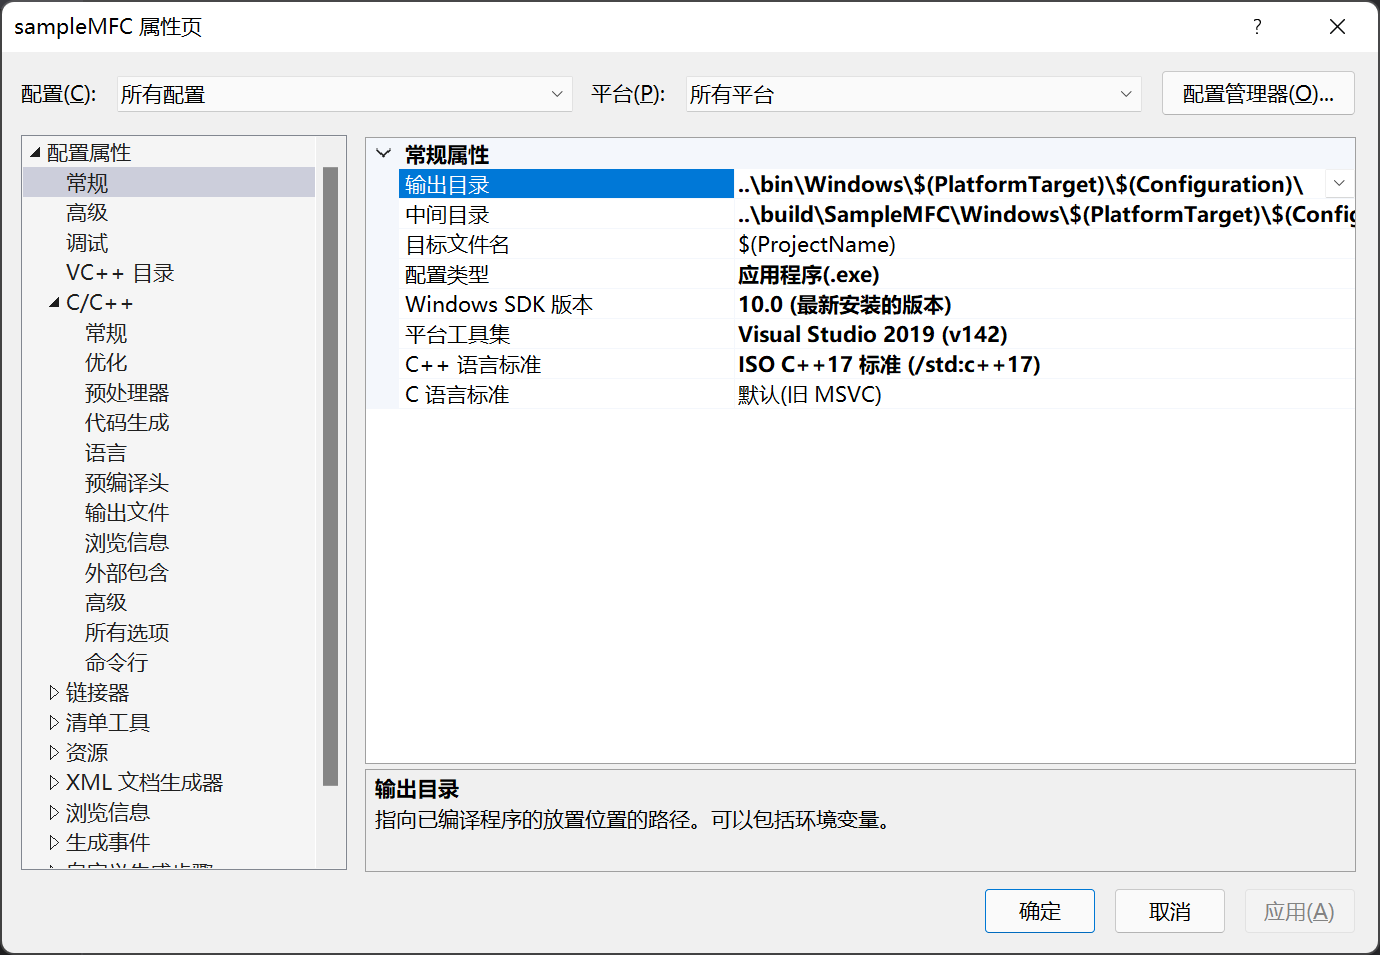
2.1 配置属性/常规
- 输出目录
..\bin\Windows\$(PlatformTarget)\$(Configuration)\ - 中间目录 - (可选)
..\build\SampleMFC\Windows\$(PlatformTarget)\$(Configuration)\ - C++语言标准
ISO C++17 标准 (/std:c++17)
2.2 C/C++ /附加包含目录
增加
..\include\Core
..\include\MFC2.3 链接器/常规/附加库目录
增加:
..\lib\Windows\$(PlatformTarget)\$(Configuration);2.3 链接器/输入/附加依赖项
AnyCAD.Common.Core.lib;AnyCAD.Geometry.Builder.lib;AnyCAD.Geometry.Interop.lib;AnyCAD.Geometry.Kernel.lib;AnyCAD.Graphics.Interop.lib;AnyCAD.Graphics.Kernel.lib;AnyCAD.Graphics.Renderer.lib;AnyCAD.Graphics.View.lib;AnyCAD.Graphics.Window.lib;SamCoreKernel.lib;SamCoreInterop.lib;SamCoreModeling.lib;AnyCAD.Widget.MFC.lib;%(AdditionalDependencies)3 代码修改
3.1 预编译头文件
pch.h或者stdafx.h中增加:
cpp
#include "AnyUIMFC.h"

// 名字空间简写
namespace Ad = anycore;3.2 SDK初始化和释放
修改在从CWinApp(Ex)继承的子类,如CsampleMFCApp。
- 初始化SDK
cpp
BOOL CsampleMFCApp::InitInstance()
{
    ...
    CWinAppEx::InitInstance();


	TCHAR path[MAX_PATH];
	ZeroMemory(path, MAX_PATH);
	GetModuleFileName(NULL, path, MAX_PATH);
	CString strPath = path;
	int pos = strPath.ReverseFind('\\');
	strPath = strPath.Left(pos);

	if (!Ad::GlobalInstance::Initialize((LPCWSTR)strPath))
	{
		return FALSE;
	}

	// 初始化 OLE 库
	if (!AfxOleInit())
	{
		AfxMessageBox(IDP_OLE_INIT_FAILED);
		return FALSE;
	}
    ...
}- 析构资源
cpp
int CsampleMFCApp::ExitInstance()
{
	//TODO: 处理可能已添加的附加资源
	AfxOleTerm(FALSE);

	Ad::GlobalInstance::Destroy();

	return CWinAppEx::ExitInstance();
}3.2 View初始化
把CView改成AuView3d
.h文件
cpp
#include "Widget/AuView3d.h"

class CsampleMFCView : public AuView3d
{
    ...
};.cpp文件。(可以直接全部替换CView--> AuView3d)
cpp
IMPLEMENT_DYNCREATE(CsampleMFCView, AuView3d)

BEGIN_MESSAGE_MAP(CsampleMFCView, AuView3d)
...

BOOL CsampleMFCView::PreCreateWindow(CREATESTRUCT& cs)
{
	// TODO: 在此处通过修改
	//  CREATESTRUCT cs 来修改窗口类或样式

	return AuView3d::PreCreateWindow(cs);
}3.3 添加并显示一个球
cpp
void CsampleMFCView::OnAddSphere()
{
	// TODO: 在此添加命令处理程序代码
	auto sphere = Ad::ShapeBuilder::MakeSphere(gp_Pnt(), 100);
	auto node = Ad::BrepSceneNode::Create(sphere, nullptr, nullptr);
	GetScene()->AddNode(node);
	RequestUpdate(Ad::EnumUpdateFlags::Model);
}4 编译&运行
编译通过后,可以得到如下的界面:
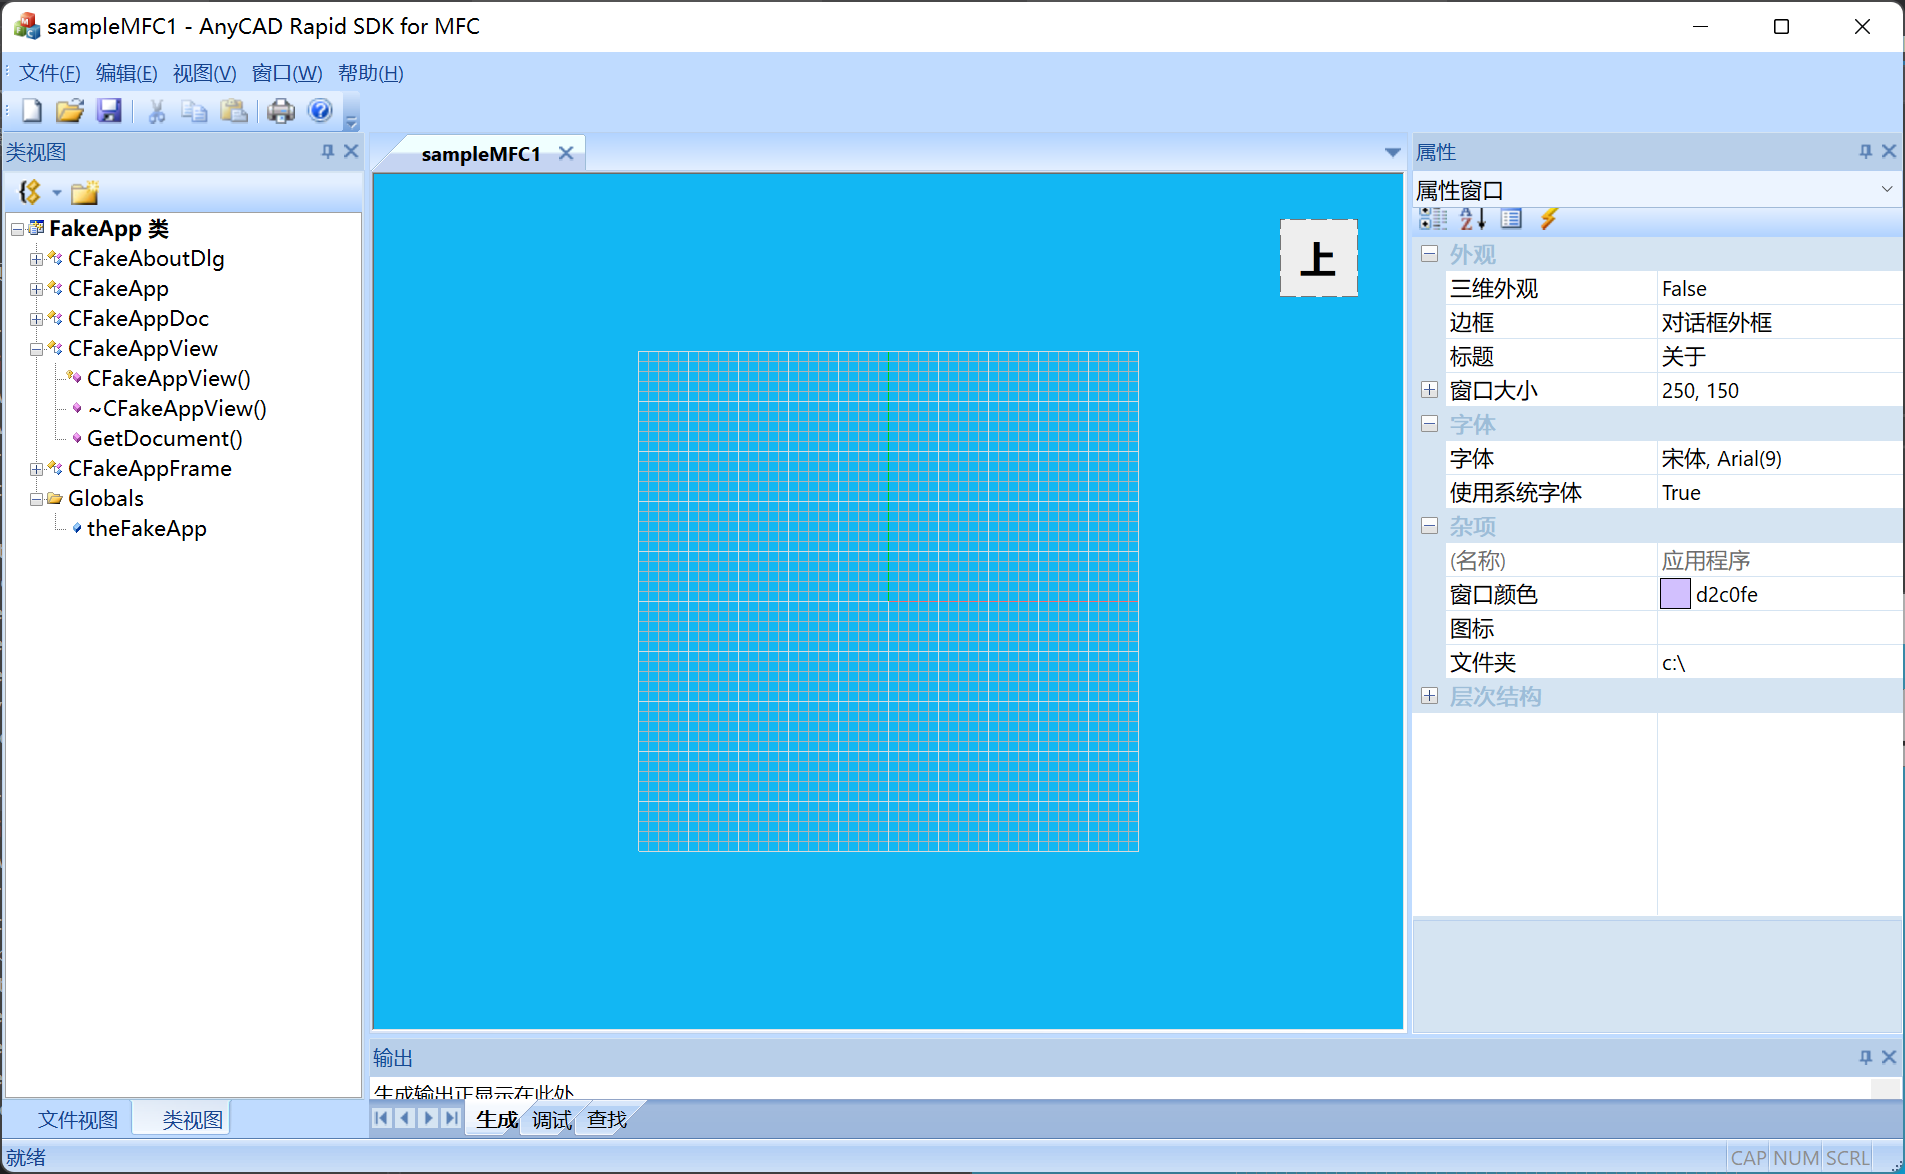
通过AuView3d的GetViewer()方法可以得到显示控件,即可跟.NET一样操作三维窗口。
5 小结
通过项目配置引入SDK的头文件、lib文件,简单修改CWinApp子类来初始化SDK,通过修改CView可以实现一个经典的Document-View项目。
如果需要在对话框中引入三维控件,也很简单只需要在对话中加入一个CStaic控件,然后改成AuWindow3d即可。
#include "Widget/AuWindow3d.h"不要忘记引入上面的头文件哟~